
 Épingler
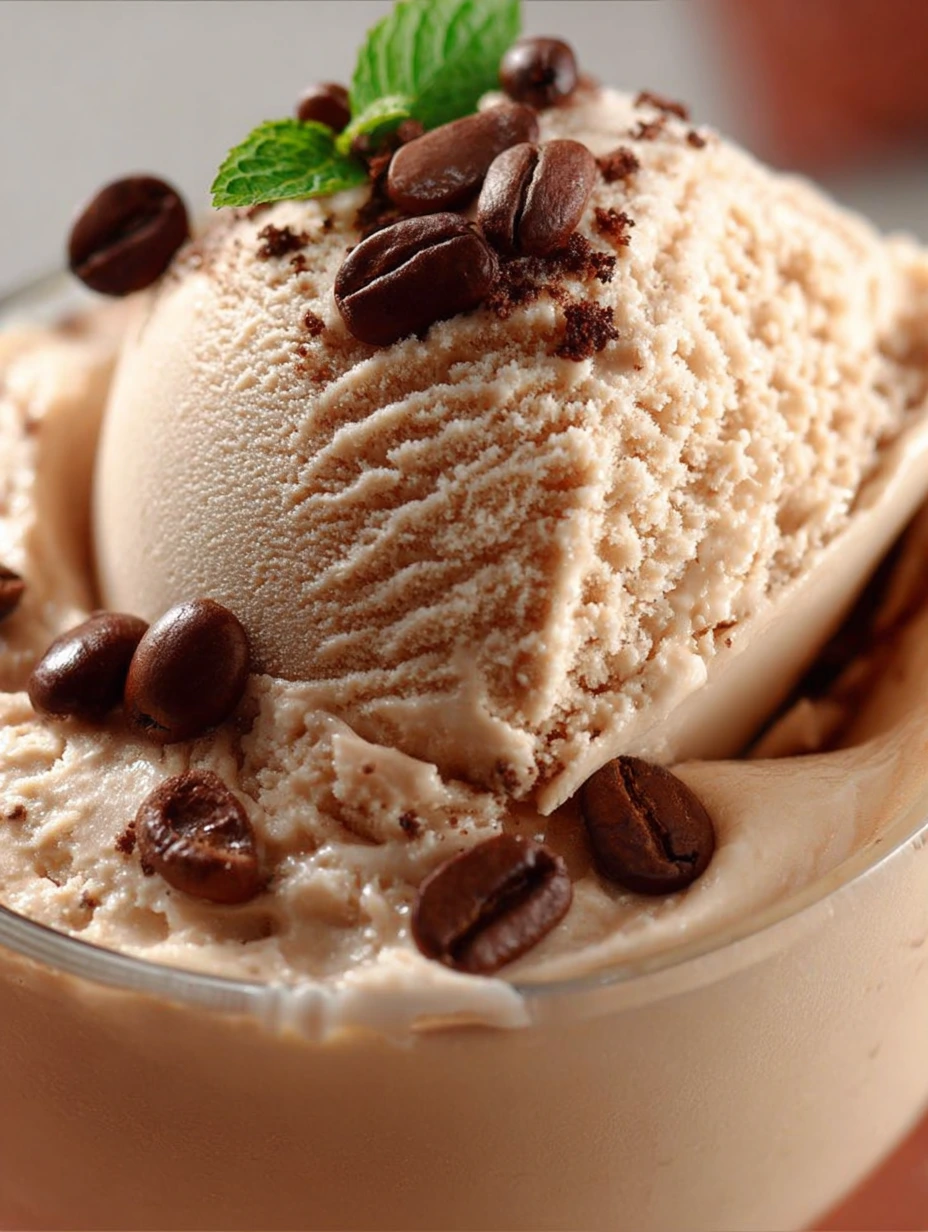
Cette glace au café est une douceur rafraîchissante qui ravira tous les amateurs de saveurs riches et crémeuses. Sa texture veloutée et son intense arôme de café en font un dessert parfait pour toutes les saisons.
Je prépare cette glace depuis des années et elle reste toujours le dessert le plus demandé lors de mes dîners. Même mes amis qui ne sont pas fans de café tombent sous son charme.
Ingrédients
- Jaunes d'œufs ajoutent une richesse incomparable et contribuent à la texture onctueuse
- Sucre dose parfaite pour équilibrer l'amertume naturelle du café
- Crème entière apporte une onctuosité luxueuse choisissez la plus fraîche possible
- Fécule de maïs stabilisateur naturel qui améliore la texture et évite la formation de cristaux
- Lait crée l'équilibre parfait avec la crème pour une base idéale
- Café instantané offre une saveur intense et constante préférez un café de qualité
- Beurre en morceaux secret pour une texture veloutée et un goût riche utilisez du beurre doux de qualité
- Grains de café moulus intensifient l'arôme optez pour un café fraîchement moulu
Instructions Étape par Étape
- Préparation de la Base à la Vanille
- Fouettez énergiquement les jaunes d'œufs avec le sucre jusqu'à obtenir un mélange aérien et pâle. Cette étape est cruciale car elle incorpore de l'air qui donnera de la légèreté à votre glace. Prenez votre temps environ 3 à 5 minutes de fouettage vigoureux sont nécessaires.
- Épaississement de la Base
- Chauffez doucement le mélange laitcrème avec la fécule préalablement diluée. Remuez constamment avec une cuillère en bois pour éviter que le mélange n'attache au fond. La patience est essentielle ici la préparation doit épaissir légèrement mais sans jamais bouillir.
- Incorporation de la Saveur de Café
- Ajoutez le café instantané dans le mélange encore chaud. La chaleur aide à libérer pleinement les arômes complexes du café. Remuez pendant au moins une minute pour vous assurer que tout le café est parfaitement dissous sans laisser de particules visibles.
- Émulsion et Cuisson
- Versez très lentement le mélange chaud sur les œufs tout en fouettant vigoureusement. Cette technique appelée tempérage évite la coagulation des œufs. Remettez sur feu doux et surveillez attentivement la consistance doit napper le dos d'une cuillère mais rester fluide.
- Enrichissement au Beurre
- Incorporez le beurre hors du feu en remuant délicatement. Cette étape est le secret des glaciers professionnels pour une texture irrésistiblement veloutée. Assurez vous que le beurre soit bien froid et coupé en petits morceaux pour une intégration optimale.
- Infusion Finale et Refroidissement
- Ajoutez les grains de café moulus et laissez infuser pendant que le mélange refroidit. Cette double infusion est la clé d'une saveur profonde et authentique. Transférez dans un récipient peu profond pour accélérer le refroidissement.
- Turbination et Congélation
- Versez dans votre sorbetière préalablement refroidie et suivez les instructions. Si la préparation semble trop épaisse ajoutez un peu de lait froid. Pour une texture parfaite sortez la glace du congélateur 10 minutes avant de servir.
Le café instantané est mon ingrédient secret pour cette recette. Contrairement à ce que lon pourrait penser il offre une saveur constante et intense qui se marie parfaitement avec la crème. Je me souviens encore de la première fois que jai servi cette glace lors de lanniversaire de ma mère passionnée de café elle a immédiatement reconnu que javais utilisé son café préféré.
Astuces de Conservation
La glace au café se conserve parfaitement au congélateur pendant trois semaines maximum. Pour éviter la formation de cristaux de glace couvrez directement la surface avec du papier sulfurisé avant de fermer hermétiquement votre contenant. Si la glace devient trop dure laissez la simplement reposer à température ambiante pendant 10 à 15 minutes avant de servir pour retrouver sa texture crémeuse.
Variantes Gourmandes
Cette recette de base peut être facilement personnalisée selon vos envies. Pour une version plus intense ajoutez 2 cuillères à soupe de liqueur de café comme le Kahlúa. Les amateurs de chocolat apprécieront lajout de 50g de chocolat noir fondu dans la préparation encore chaude. Vous pouvez également incorporer des éclats de chocolat ou des grains de café enrobés de chocolat juste avant la fin de la turbination pour une agréable surprise croquante.
Accords et Présentations
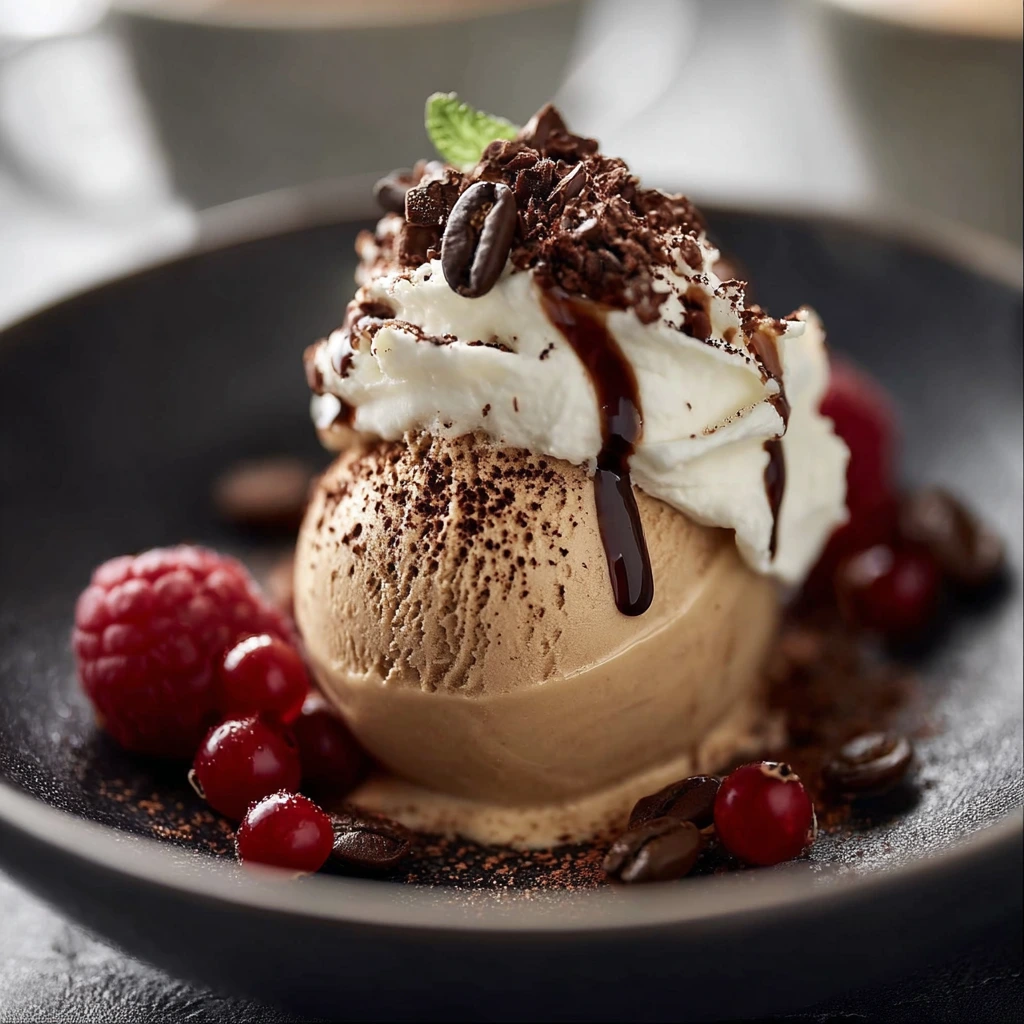
Servez cette glace au café dans des tasses à expresso pour une présentation élégante et originale. Elle se marie parfaitement avec des biscuits secs comme les amaretti ou les speculoos. Pour un dessert plus sophistiqué proposez la avec un trait de liqueur de café et une quenelle de crème fouettée saupoudrée de cacao. Les amateurs de desserts classiques apprécieront une affogato maison en versant un expresso chaud sur une boule de cette glace.
FAQs Sur La Recette
- → Peut-on remplacer le café instantané par du café fort?
Oui, vous pouvez remplacer le café instantané par 100ml de café espresso très fort et réduire légèrement la quantité de lait. Assurez-vous que le café soit bien concentré pour obtenir un arôme intense.
- → Comment obtenir une glace plus crémeuse?
Pour une texture plus crémeuse, vous pouvez augmenter la proportion de crème par rapport au lait ou ajouter une cuillère à soupe de miel qui aide à prévenir la formation de cristaux de glace.
- → Peut-on réaliser cette glace sans sorbetière?
Oui, placez la préparation refroidie dans un contenant hermétique au congélateur et mélangez énergiquement toutes les 30 minutes pendant 3-4 heures pour briser les cristaux de glace. La texture sera légèrement moins onctueuse mais tout aussi délicieuse.
- → Combien de temps peut-on conserver cette glace?
Cette glace au café se conserve jusqu'à 2 semaines dans un contenant hermétique au congélateur. Pour la dégustation, sortez-la 10-15 minutes avant de servir pour qu'elle retrouve sa texture crémeuse.
- → Quelles garnitures accompagnent bien cette glace?
Cette glace s'accompagne parfaitement de copeaux de chocolat noir, d'amandes caramélisées, d'un filet de sauce caramel ou même d'un peu de liqueur de café pour une version adulte plus sophistiquée.